
4/26/2022: Be a master multitasker

Better multitasking in Windows and MacOS
Plus: Sonos’ next soundbar, new Zoom gestures, and upping your emoji game
Hey there! I’m Jared Newman, a veteran tech journalist, and this is the free edition of Advisorator, my weekly tech advice newsletter. If someone shared this newsletter with you, consider signing up to get it every Tuesday. Thanks for reading!
This is the month in which I finally got my windowing situation in order.
While I love that Windows and MacOS let you juggle a dozen apps at once, it’s easy to get overwhelmed by all those open windows, or to waste time reshuffling and resizing them all. Being out of town last week—and not having my usual multi-monitor setup—was the motivation I needed to explore some smarter multitasking methods.
Below, I’ll walk through the ways you can keep your open applications more organized on Windows and MacOS, including some simple built-in solutions along with a couple of powerful add-ons:
Window-snapping basics
Before you start installing any extra software, make sure you’re familiar with the built-in shortcuts for repositioning your app windows.
In Windows:
- Drag a window to the top edge to maximize it, or press Win + ↑.
- Drag windows to the side edges for split-screen view, or press Win + ← or Win + →.
- Click-and-drag the bar between two split-screen windows to resize them both.
- Win + ↓ to un-maximize or minimize a window.
- Win + D to hide all windows. (Press again to restore.)
- Windows 11 only: Quickly access split-view options by hovering over an app’s window button or dragging the window to the top edge of the screen.
In MacOS:
- Maximize a window by holding Option and clicking the green button (or double-clicking the app’s top bar).
- Hold Option and click again to un-maximize.
- Cmd+H to hide a window
- Cmd+Option+H to hide all but the current window.
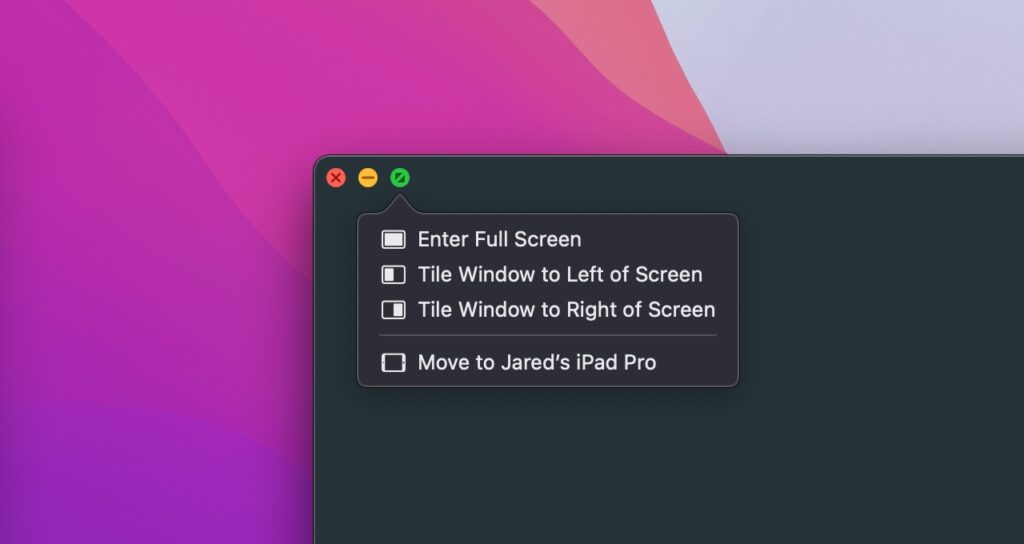
- Hover over the green button, then select “Tile” to open the app in split-screen mode.
- Click-and-drag the bar between two Tiled windows to resize them both.
- Hold Option while hovering over the green button to “Move” windows instead of tiling them. (This keeps the dock and menu bar visible while having the app cover half the screen.)
These controls might be all you need to multitask effectively. But if not, some additional software can help.
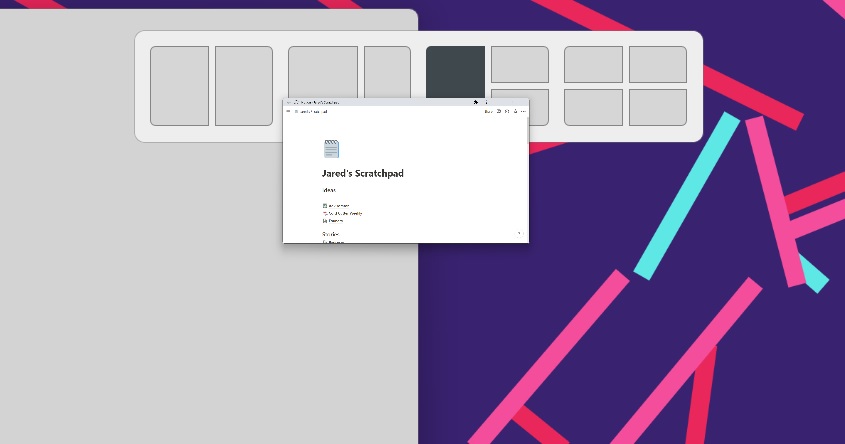
FancyZones for Windows
FancyZones is a feature of Microsoft’s free PowerToys app for Windows, letting you easily snap windows into customizable spaces. While it’s intimidating on the surface, it’s quite powerful once you get acquainted. (My favorite use case so far: Setting up a widget sidebar for small apps like Plexamp and Hourglass.)
Start by installing the “PowerToysSetup” file on this page, then open the PowerToys app, head to the FancyZones tab, and click the toggle to enable it. Now, if you hold Shift while dragging a window, you can drop the window into one of several ready-made positions. You can also hold Ctrl+Shift while dragging to have the window fill multiple zones instead of just one.
To customize these window positions, open FancyZones and select “Launch layout editor.” From here you can select from several other layouts or create your own. With a multi-monitor setup, you can even set separate presets for each screen. Try playing around with some different layouts to see what works for you.
One last thing: In FancyZones settings, I suggest scrolling down and checking “Restore the original size of windows when unsnapping.” That way, you don’t have to resize your windows after moving them out of snapped view.
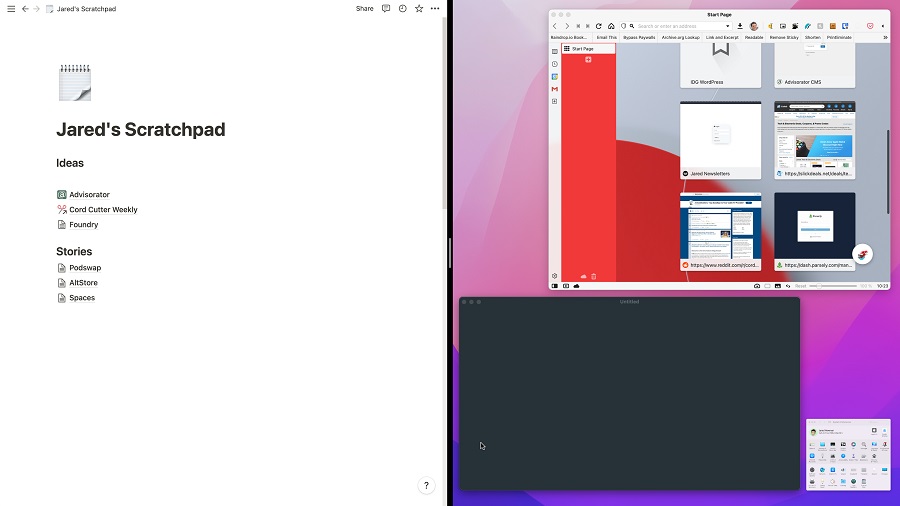
Rectangle for Mac
Rectangle is a free Mac app that makes window management much easier. It lets you resize windows by dragging them to any edge of the screen—similar to Windows’ built-in snapping features—but it also goes further with more snap zones and a slew of customizable keyboard shortcuts. For instance, you can set shortcuts to move windows to either side of the screen, center them, or resize them in small increments.
Once installed, you’ll need to give Rectangle permission to control windows under Preferences > Security & Privacy > Accessibility. You can then try dragging a window along the edges of the screen to see all of your snapping options, or open the Rectangle app to customize your keyboard shortcuts.
The app’s core features are free, while a separate $10 Pro version adds more features, such as customizable zone sizes and shortcuts for laying out specific apps. You can try the paid version for 10 days without a credit card, or just grab the free version instead.
Get in the habit
Now that you know some advanced multitasking tricks, here comes the hard part: Remembering to use them in the first place. I suggest picking one or two shortcuts or windowing setups to rely on regularly, then branching out as you become more comfortable. Before long, you might wonder how you got by any other way.